Print Production
Common Print Defects and How to Spot Them
A practical guide to spotting common file preparation, printing, and finishing issues before a print piece is approved.
Always check the final print size and color expectations before sending a file to production. Designs often appear different in print due to factors such as paper type, ink, lighting conditions, and printer capabilities. Calibrating your monitor and using the appropriate color profile can help reduce surprises. When color accuracy is critical, review a proof or sample print whenever possible and verify that images, text, and graphics remain effective at their final printed size.
Make sure your files include crop marks and sufficient bleed. Crop marks clearly indicate the intended trim size, helping operators cut the piece accurately and consistently. Bleed provides extra image area beyond the trim edge, making minor cutting variations less noticeable and preventing unwanted white edges.
For smaller print jobs, operators can often estimate the finished size when crop marks are missing, but this introduces unnecessary guesswork and increases the risk of inconsistencies. Providing proper crop marks and bleed helps ensure the final product matches your intentions.
Ink drops are one of the most common defects encountered when producing medium- to large-format prints. On rigid materials printed with UV flatbeds, such as an Agfa Jeti, ink droplets can occasionally land on the printed image. These defects are often caught during quality checks, but smaller drops can sometimes go unnoticed until the final inspection or installation.
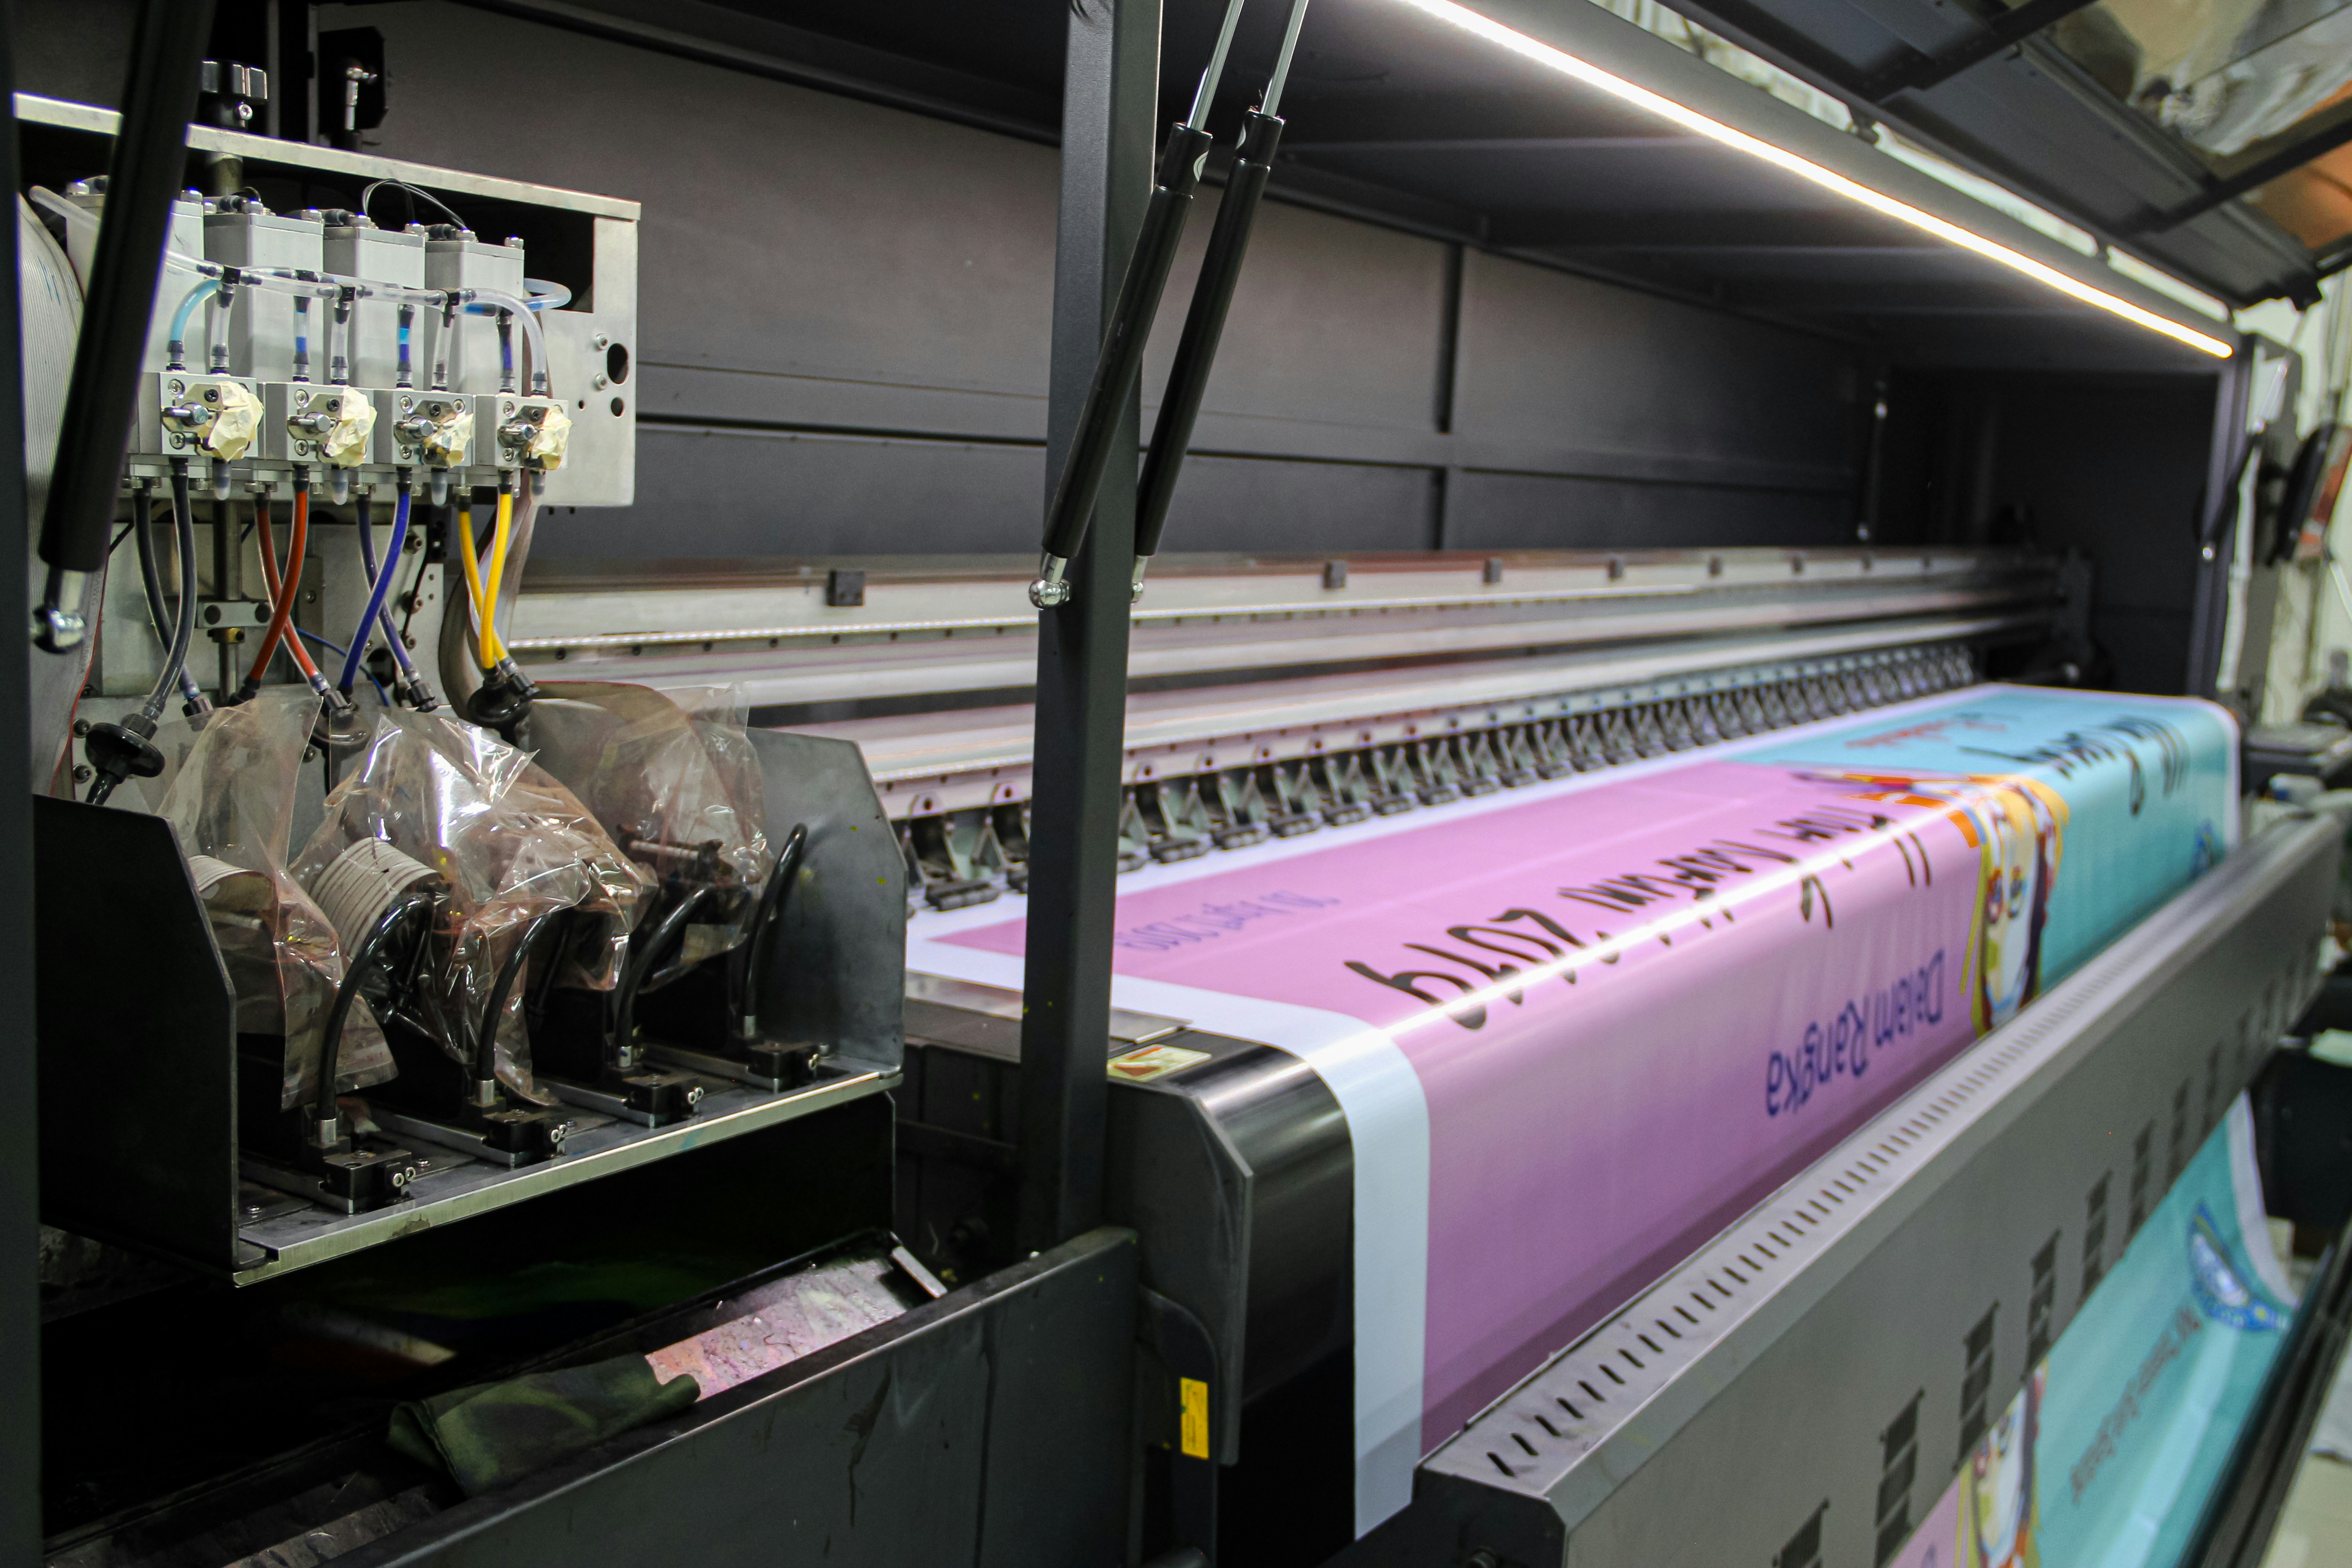
This issue is generally less common on roll media such as banners, where the printing process and material handling differ from rigid substrates. Because ink drops can be difficult to spot at a glance, it is worth inspecting large areas of solid color, gradients, and light backgrounds before approving a print.
When producing large UV print runs, operators may choose lower pass settings to increase production speed. While this can improve efficiency, it can also result in a more brittle ink layer. After the print is trimmed, especially when using blades that are becoming dull through heavy use, the ink may crack or flake at the edges.
This issue is most common and most noticeable in areas of solid color, where even a small amount of chipping can be easily seen. Inspecting corners while reviewing the final print is a good way to catch the issue before installation or delivery.
If your design contains very small text on a medium or large-format print, registration issues are one of the most common defects to look for. When a printer's color channels become slightly misaligned, text and fine details can appear doubled, blurry, or fuzzy instead of sharp and readable.
This issue is more common on rigid materials than on roll media. Factors such as temperature changes, machine adjustments, or minor impacts to the printer can affect printhead alignment and lead to visible registration errors. Pay close attention to small text, thin lines, and detailed graphics when reviewing a proof or final print, as these elements tend to reveal the problem first.
Debris trapped under lamination is a common issue on laminated prints. Dust, paper fibers, hair, and other small particles can be difficult to remove completely before the lamination process. Once laminated, these particles become permanently sealed beneath the surface and may appear as bumps or imperfections.
When reviewing a laminated print, inspect large solid-color areas and light backgrounds carefully, as trapped debris is often easier to spot in these sections.
Bubbles beneath the laminate are another common defect to look for. These can occur when insufficient heat, pressure, or adhesion is applied during the lamination process. They may also appear if the print shifts slightly while passing through the laminator, preventing the laminate from bonding evenly to the surface.
Before approving a laminated print, inspect the surface from multiple angles under good lighting to ensure the laminate is smooth and properly adhered.
Encapsulated prints can sometimes appear noticeably duller or less vibrant than expected if the encapsulation process is not performed correctly. Insufficient heat, pressure, or adhesion can prevent the material from bonding properly, causing colors to appear muted and reducing the overall visual impact of the print.
Compared to a standard matte-laminated print, a poorly encapsulated print may look significantly less saturated and appear to have lower contrast.
While adding grommets to rigid signs may seem like a cost-effective mounting solution, the results can sometimes be less durable or visually appealing than expected. Unlike flexible materials such as banners, rigid substrates do not distribute stress as evenly around the grommet.
Over time, pressure applied around the mounting points can cause the material to crack, chip, or deform, particularly near the corners and edges. This damage may become more noticeable during installation, transportation, or long-term outdoor use.
If grommets are being used on a rigid sign, inspect the area around each mounting point for cracks, stress marks, or deformation before accepting the final product.
Dog-earing, sometimes called panel buckling, occurs when the corner of a folded panel lifts, wrinkles, or folds over instead of lying flat. This issue is most common on tri-fold brochures when the inside fold panel is not made slightly narrower than the other panels.
Equal-width panels do not always fold cleanly into one another. The problem can become more noticeable on thicker stocks or when using high-speed folding equipment.
To avoid dog-earing, designers should compensate for the fold by slightly reducing the width of the inside panel. When reviewing a finished brochure, inspect the folds and corners to ensure the panels sit flat and align properly. This is a detail that should be checked during both file preparation and final production.
.jpg&w=3840&q=75)